Toyota Celica TA22 GT Restoration | The Toy Shop Auckland
This 1975 Toyota Celica TA22 GT started life at the Toyota workshop in Nelson, sold new into New Zealand with the factory GT option. More than fifty years later, it rolled into the Masters Class at the 2026 Ellerslie Concours d’Elegance and finished 4th against some of the best builds in the country. Not bad for a car that was only ever meant to be driven.
This is the story of how we restored it, what we kept, what we made from scratch, and why a workshop that specialises in European and British classics ended up at Ellerslie with a Japanese coupé. If you own an early Celica, or any rare classic you’ve been told is “too original to touch”, this one is worth reading.
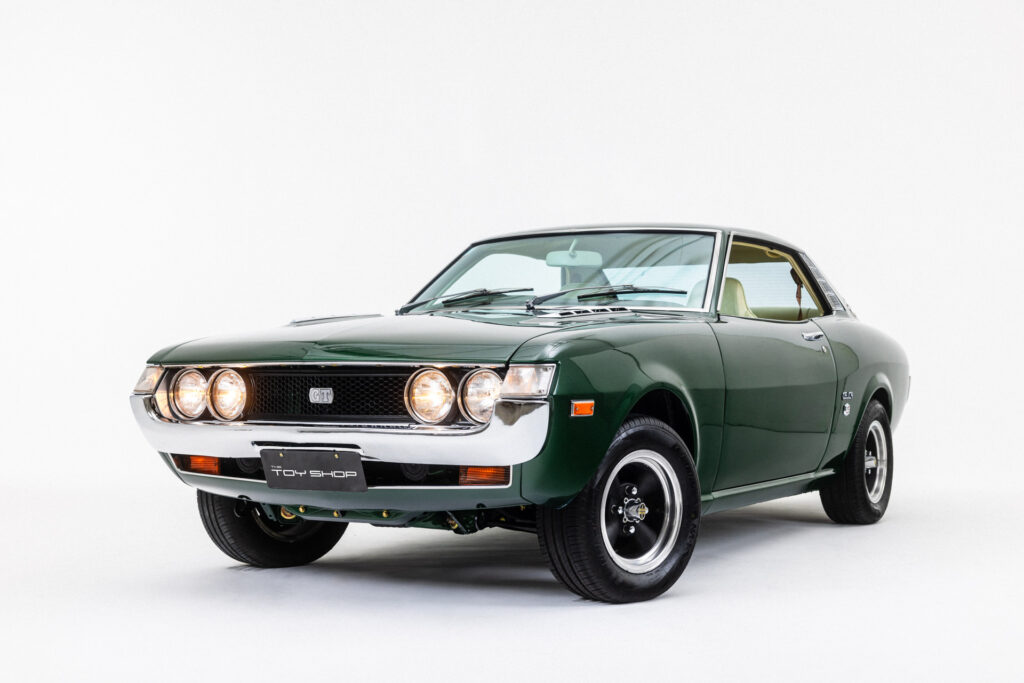
About The Car – A New Zealand-New 1975 Celica GT
The Celica belongs to Cameron, a long-standing client whose cars we already look after. He’s had a fascination with Japanese cars from the late 1960s and early 1970s for years, and this one ticked every box: New Zealand-new, imported directly to the Toyota workshop in Nelson, and optioned as a GT.
We don’t normally take on Japanese cars, but Cameron’s a loyal customer, Trevor had a soft spot for the car from the first look, and it’s not often a genuine factory GT with its New Zealand history intact comes through the door. We made an exception, and we’re glad we did.
Why Restore A Toyota Celica TA22 GT?
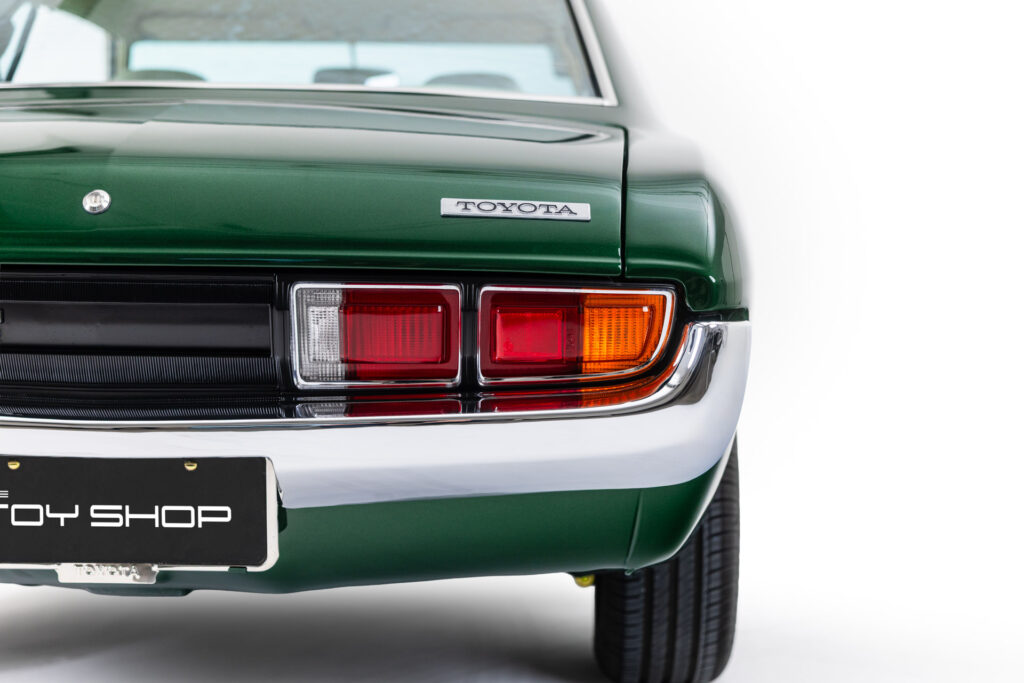
The first-generation Celica was launched in Japan at the end of 1970. Toyota built a stylish coupé on the chassis and mechanicals of a volume saloon, the Carina, in much the same way Ford had done with the Mustang. The result was a pillarless hardtop with a curved shape that still turns heads.
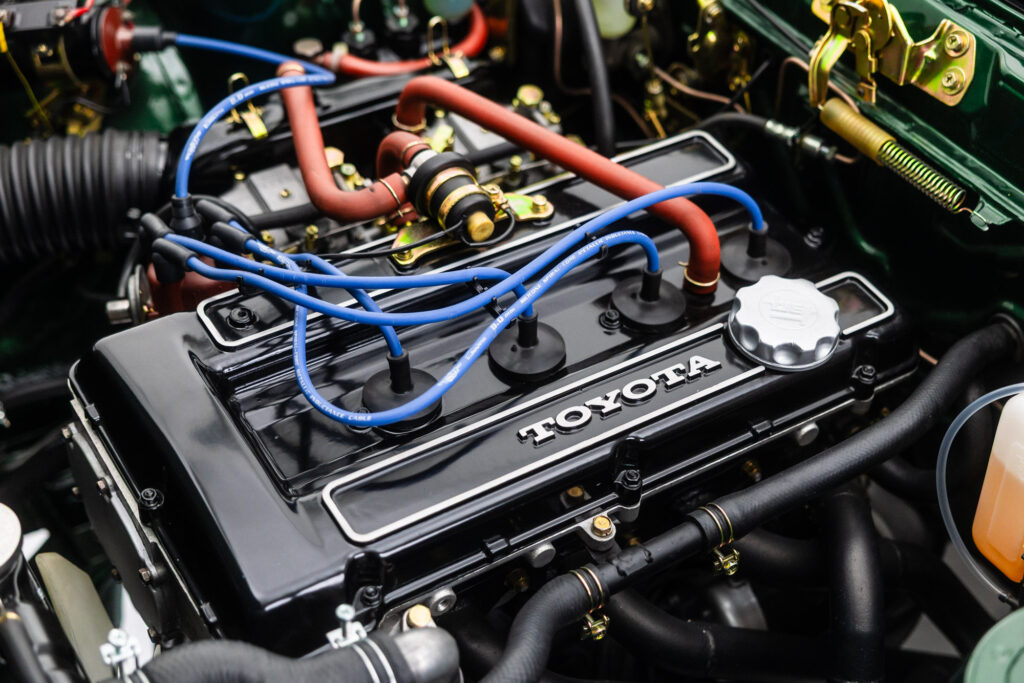
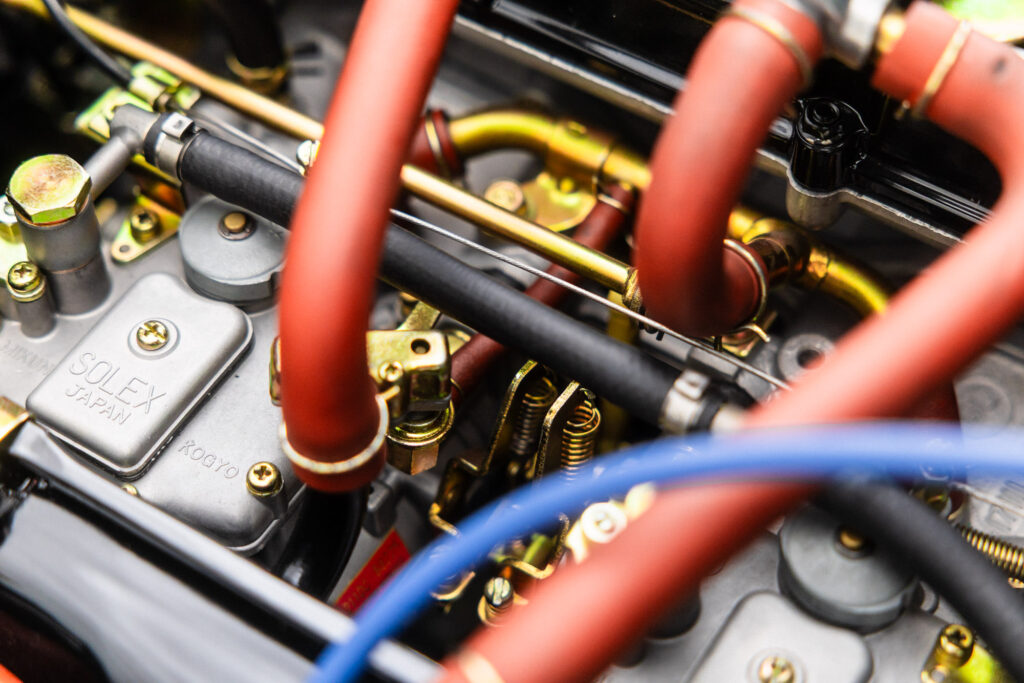
The TA22 1600GT was the one to have. It used the 2T-G engine – a 1,588 cc twin-cam four with a Yamaha-made cylinder head and twin Solex side-draft carburettors – paired with a five-speed manual, firmer suspension and its own interior trim.
GTs were never common outside Japan, and only a handful of genuine factory-built examples are thought to remain. That rarity is exactly why a car like this deserves a proper restoration rather than a quick tidy-up. And why every decision along the way leaned towards keeping it original.
First Step: Assessment And Planning
Like every restoration we take on, this one started with a thorough inspection rather than a tear-down. The team went through the car in detail before a single bolt came out, and the build plan was agreed with Cameron.
His brief was clear: restore it properly, keep as much of the original car as possible, and make sure it could still be driven on the road. He also wanted some of the small marks of age left in place. As he put it, they tell the story of the car, and you can’t really chrome that.
Cameron stayed close to the project throughout, popping in to talk things through with the team. That kind of relationship makes a long build easier for everyone, and it meant the decisions being made were ones everyone was happy with.
Strip Down And Rebuild: Keeping The Original Car
This was a full nut and bolt restoration. The car was stripped down, and every panel, component and mechanical system was assessed and restored before it went back together. Every nut, bolt and washer was replaced, with the team checking at each stage that the car stayed true to its original specification.
Originality guided everything. By the end, around 87% of the car was original material – restored, not replaced. On a car this rare, that number matters more than any amount of shine.
Engine, Gearbox And Fuel System
The engine was sent away to be rebuilt, and the gearbox was rebuilt, ready to go back in. This was never going to be a museum piece, so everything had to work properly and reliably.
The fuel tank was fully refurbished and fitted with new fuel level senders. It was one of the first things to go back into the car, tucked into the rear early, so the rest of the build could follow around it.
Paint And Panel Work
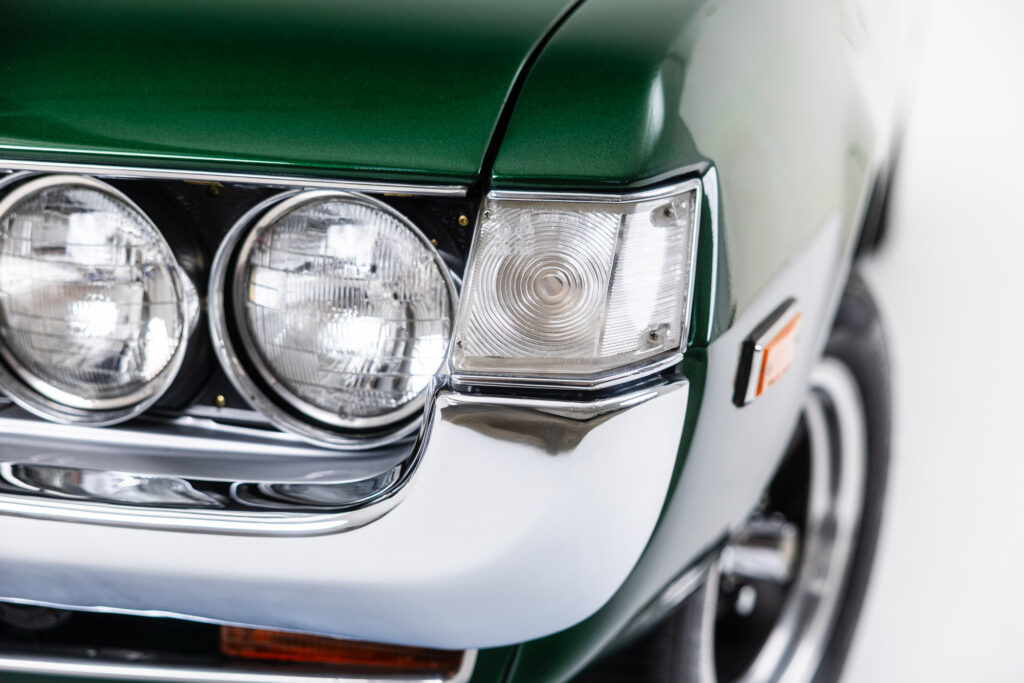
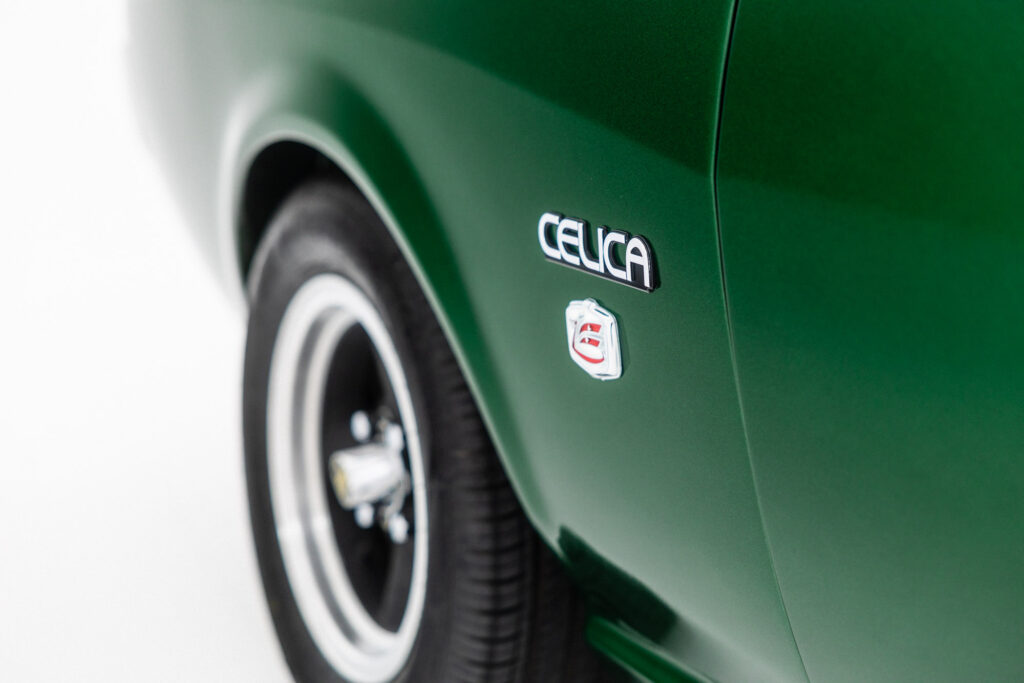
The car was repainted in its original metallic green. There are very few straight lines on a first-generation Celica – its curves almost everywhere you look – which is a big part of its charm and no small part of the challenge.
Once it came out of the paint shop, we started fitting out the engine bay and lining up the panels. Our aim was to get every panel gap better than the factory did.
Interior Restoration: Door Cards, Carpets And Trim
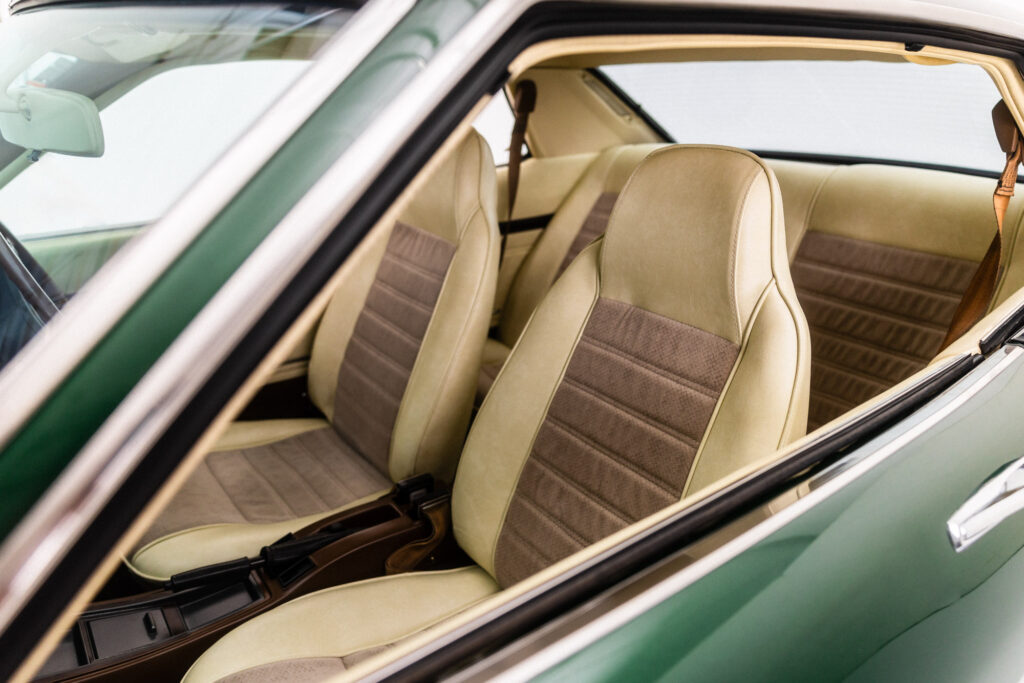
Inside, the approach was the same: restore the original interior features before reaching for anything new. Nick, our interior specialist, started on the door cards. Years of leaning arms, open windows and road dust had built up on the old vinyl, so it was cleaned back slowly and carefully, then touched up with paint.
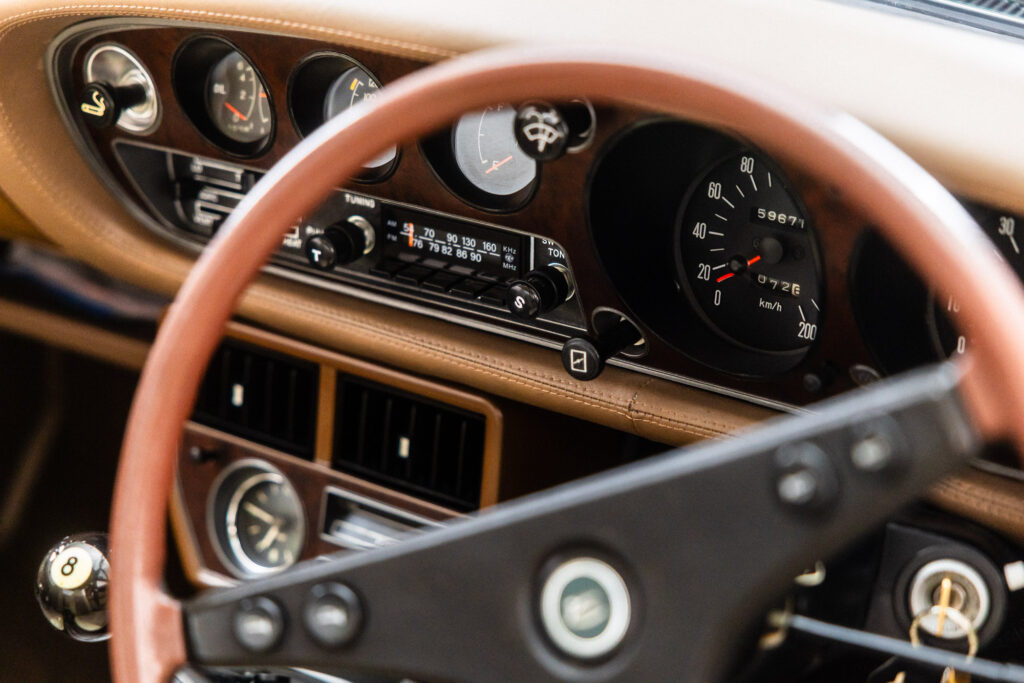
The original carpets were cleaned separately, laid back into the car and checked for fit, with edges restitched where needed. Mouldings, trims and window seals were refurbished and refitted, and the gear lever got a new cover and boot. Every dial and gauge was taken apart, refurbished and renewed, so the dash looks just as it did when the car left the factory.
A New Centre Console, Designed In CAD
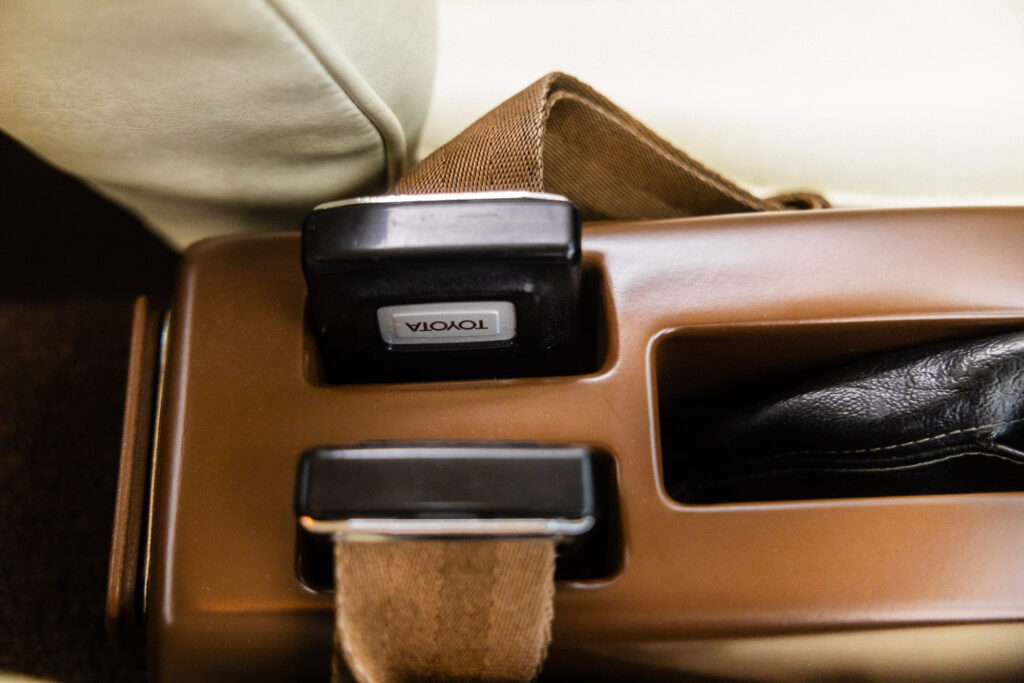
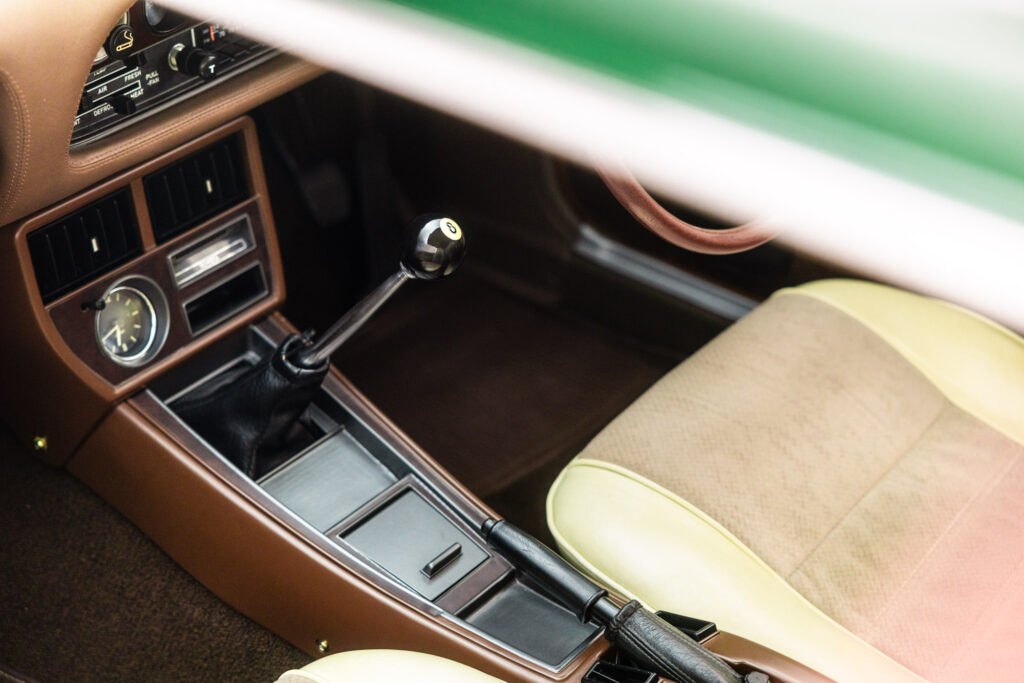
Not everything could be saved. The original centre console was simply too old and tired to work, so we made a new one. It was 3D printed in three separate parts, then filled and rubbed down to a very smooth finish before primer and paint.
Theo designed six supporting components in CAD to join the console together, mount it in the car, and frame the switches and 12-volt power sockets. The console was finished in brown to match the interior, with a little bronze sheen to lift it, and kept the standard grey infills.
The wood grain inserts on the consoles and dash were made the same way. We traced the original shapes from high-resolution photographs, digitised them, and cut the inserts from wood grain veneer.
There are a couple of quiet modern touches, too. The console hides a wireless phone charger, and the dash was shaped around a retro-style stereo that looks original but has Bluetooth. Nothing a judge would spot at a glance – everything Cameron will appreciate on a drive.
Wiring: Restored, Not Replaced
The easy option would have been a brand-new loom. Instead, we kept the original. It was taken down to individual wires and each one was tested, the odd wire was replaced where it had to be, and the whole loom was rewrapped in the original tape.
It’s slow, careful work that nobody sees once the car is finished. As it turned out, the judges did.
Final Checks And Concours Preparation
When the restoration was complete, the final checks began. Fresh eyes from across the team went over every panel, stitch and detail – again and again – before a last clean and polish.
We’d built cars to this standard before, but we’d never entered a show of Ellerslie’s calibre. Being invited into the Masters Class changed how we looked at the car. Suddenly nothing was quite good enough, and it became a long, satisfying round of touch-ups, tweaks and polishing.
On the day itself, we lost count somewhere around the 51st wipe-down of the morning.
There was some irony in it, too: a workshop known for European marques, standing in the Masters Class next to a Japanese classic. It got a warm welcome. It’s not often an original JDM car turns up at a show like this.

Judged In The Ellerslie Masters Class
Masters Class cars aren’t judged by one person. A panel of around 25 judges scores the car across ten categories – including paint, panels and panel gaps, chrome, wheels, the engine bay, the interior, the wiring and the underside – before comparing notes. The chrome judge looks at the plating on individual bolts and whether the clips are original. Panel judges run a fabric glove across the bodywork and along every gap. And make no mistake, they climb underneath too.
The Celica’s panels scored 67 out of a possible 70, one of the highest scores of the day. The engine bay scored 52 out of 60, on par with the winning car. The battery and wiring looms took the full 25 out of 25 – most of the other cars in the class had new harnesses, and the restored original clearly counted.
We lost a few points underneath, because the new exhaust, while clean and tidy, isn’t original. Even so, the Celica’s underside score was just one point behind the Bugatti’s, in a class where some cars had been years in the making. Ours took 11 months.

Frequently Asked Questions – Toyota Celica TA22 GT Restoration
TA22 is the chassis code for the first-generation Celica coupé with the 1.6-litre engine, built from 1970 to 1975. The top 1600GT and 1600GTV versions used the twin-cam 2T-G engine, with a Yamaha-made cylinder head and twin Solex carburettors, paired with a five-speed manual.
Yes. Genuine factory GTs are rare, particularly outside Japan, and New Zealand-new examples with their history intact are rarer still. A properly restored car is both enjoyable to drive and increasingly sought after by collectors of Japanese classics.
It depends on the car’s condition, parts availability and the depth of the restoration. This Celica’s nut and bolt restoration took 11 months, which is quick for a car finished to concours standard.
Yes, with the right approach. Around 87% of this Celica is original material, yet it was built from the outset as a road car, with a rebuilt engine and gearbox, a refurbished fuel system and a restored original wiring loom.
They can, if they’re done discreetly. This car has a wireless phone charger and a retro-style Bluetooth stereo, both integrated so the cabin still looks period-correct.
Where a part is too far gone and a replacement isn’t available, we can make one. The Celica’s centre console was redesigned in CAD and 3D printed, and the wood grain inserts were digitised from photographs and cut from veneer.
Cars are scored by a panel of judges across ten categories, from paint and panel gaps to chrome, interior, wiring and the underside. Authenticity matters as much as finish – non-original parts, even new and tidy ones, can cost points.
Our specialism is European and British classics, and that’s where most of our work sits. The Celica was an exception for a long-standing client, but we will always consider a special vehicle.
Costs vary widely with the car’s condition and the scope of work, including parts, labour, fabrication, paint and mechanical rebuilding. The most accurate way to estimate cost is a professional assessment of the actual vehicle – we’re happy to provide one.
The restoration was managed and carried out at The Toy Shop in Auckland, from the initial assessment through to concours preparation.
How The Toy Shop Can Help With Your Restoration
The Toy Shop is a specialist classic vehicle workshop in Auckland, New Zealand, restoring and caring for European and British classics. Our small team handles mechanical, electrical, fabrication, panel, paint and trim work under one roof, from full nut and bolt restorations like this Celica to targeted repairs and recommissioning. You can read more about our restoration services, our mechanical and electrical restoration and our upholstery and interior work, or get in touch for an assessment of your project.
Conclusion
This Celica’s journey from a Nelson showroom to the Masters Class at Ellerslie shows what’s possible when a rare car is restored with patience and respect for what’s original. It was never built to be a show car, and that’s what makes the result so satisfying: a road car, lovingly restored, that held its own among New Zealand’s finest classics.
As for us, we’ve caught the bug. The only question now is what our next Ellerslie build will be. If you’ve got a classic that deserves the same care, book an assessment – we’d love to hear about it.